New project inspired by the video of another modeler using an MG Z'Gok to scratch build an Air Man from the game Rock Man (Mega Man): http://www.gamerabaenre.com/forums/viewtopic.php?t=166
I gathered the parts on Friday, and during the build gathering, I started work on this. I have no plans, and I'm just blindly attempting this project using only the video as a reference. This could go completely south, but so far, I think I'm doing ok.... The complete progress page is here:
My version: http://www.gamerabaenre.com/air_man_prog.htm
And here is the beginnings of this project:
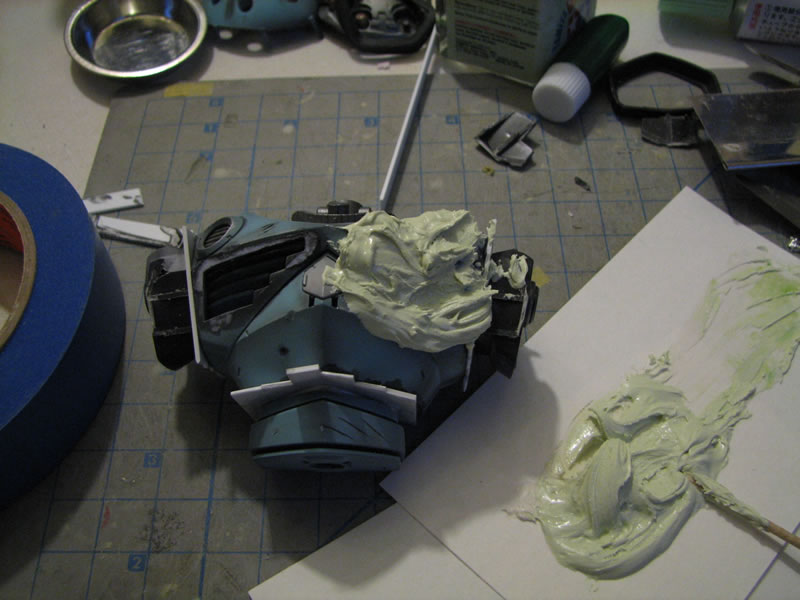
Small plastic mods
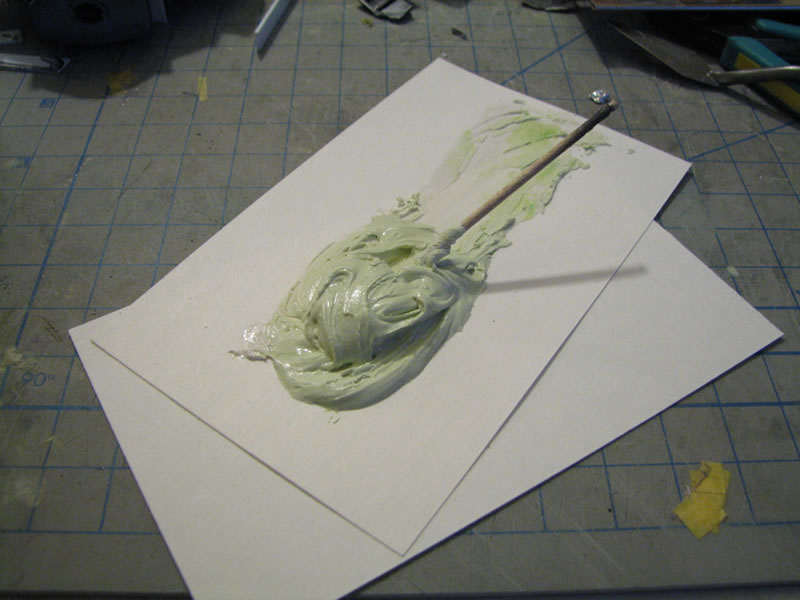
Mixing polyester putty
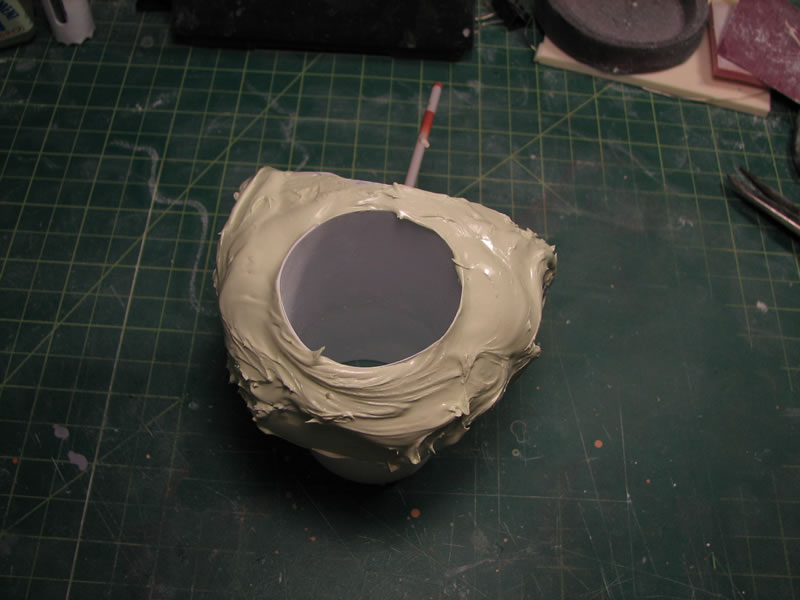
First layer of poly putty...
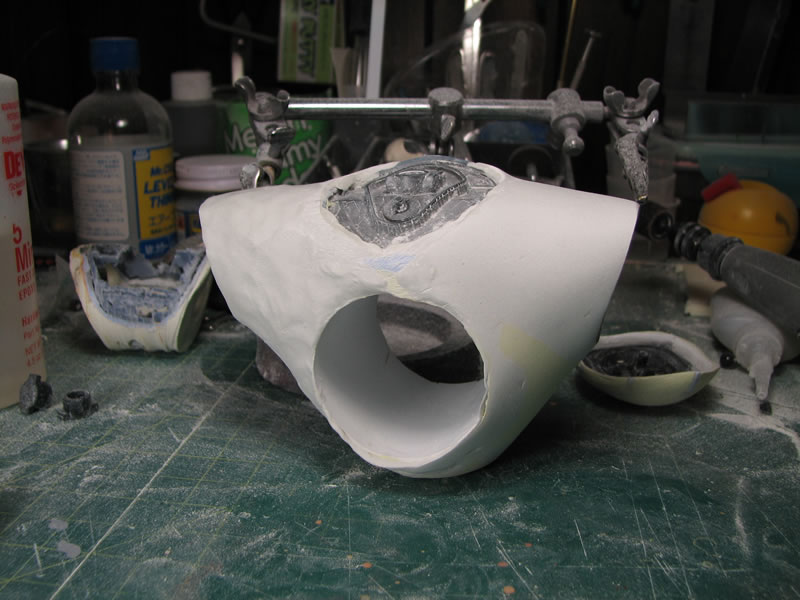
The part that is not explained or shown in the video is the slow process of building up the polyester putty body. I used strips of styrene as a frame for the putty to grab on to, and once I finish this slow process, I can get to the ever fun sanding and shaping phase...
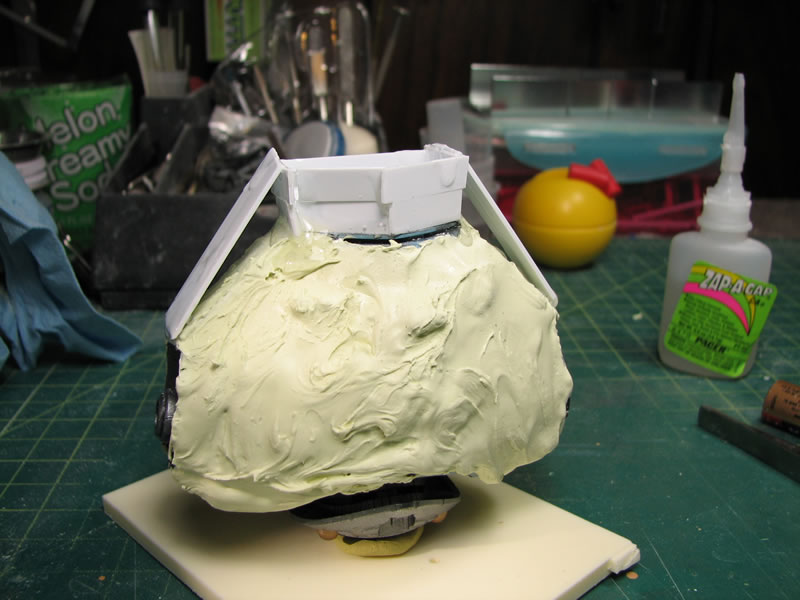
Still more putty...
Rock Man (Mega Man)'s Air Man Project
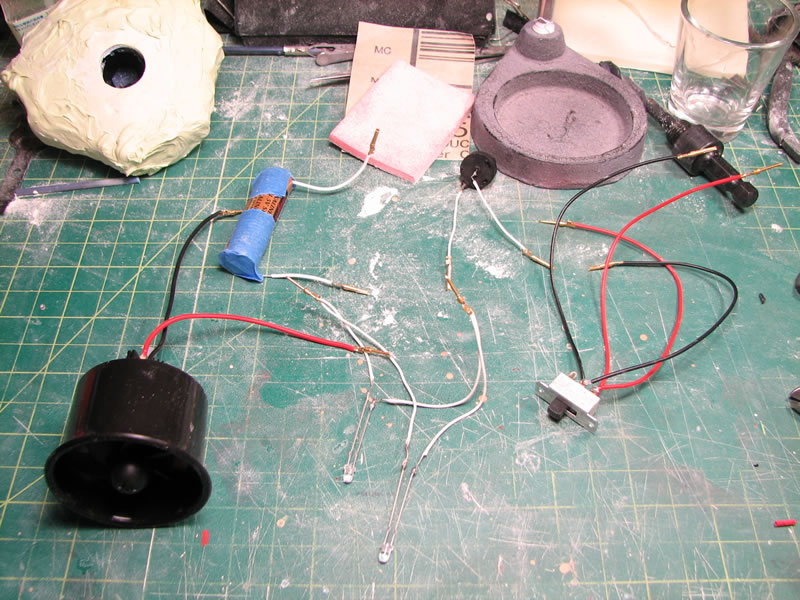
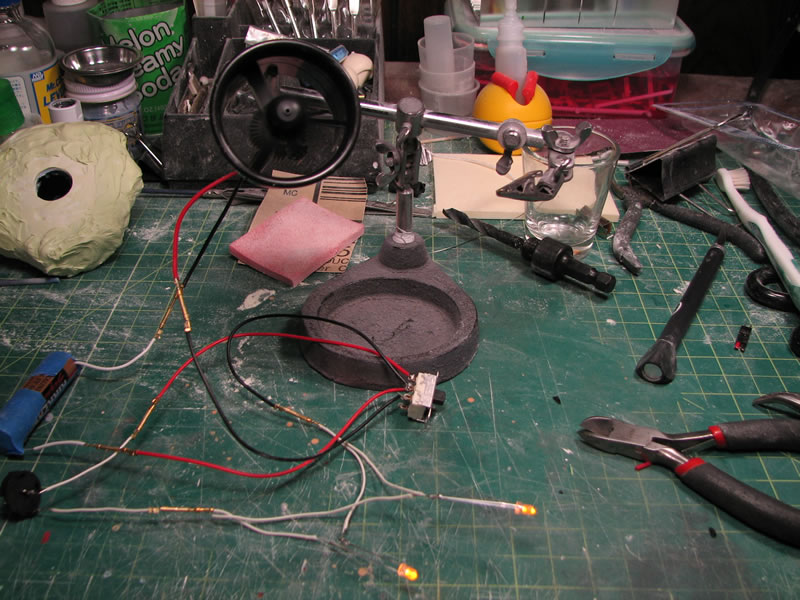
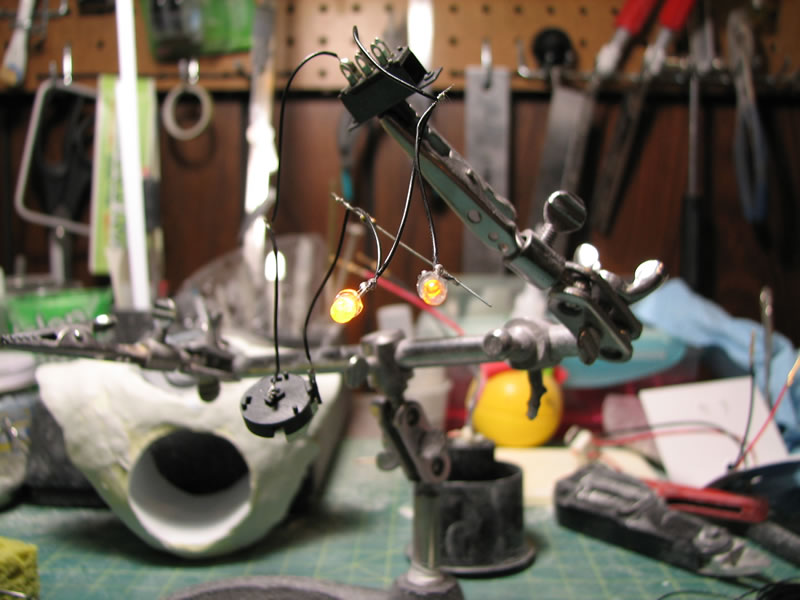
Got the electronic components together
Electronic Components
Adding little connectors to each component, stringing them together with the DPDT switch, I can run the yellow LEDS (Still not completely decided on the color I want the eyes - red, yellow, or blue) from the lithinum 3 volt battery and the ducted fan can run off the 1.5 volts coming off the AAA battery cell.
Electronics at work
And I even have a little video for it: http://www.gamerabaenre.com/air_man_prog.htm Scroll to the middle of the page.
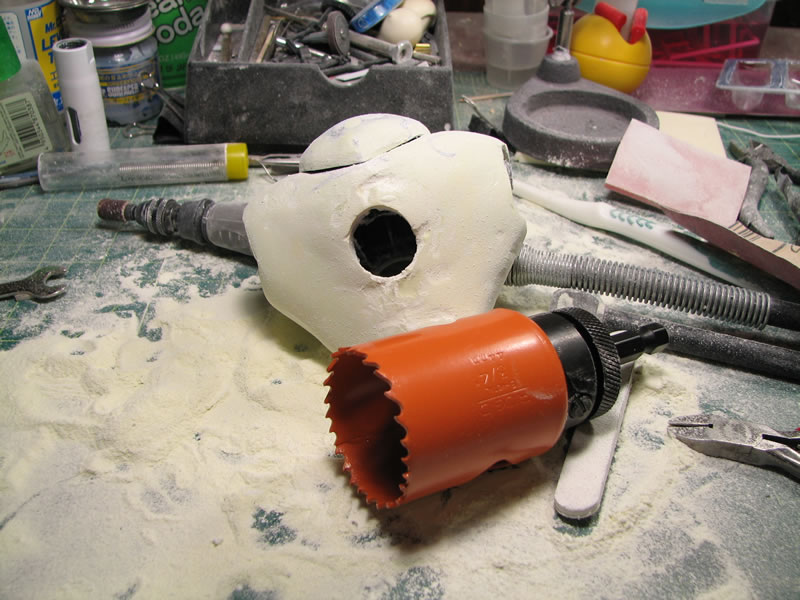
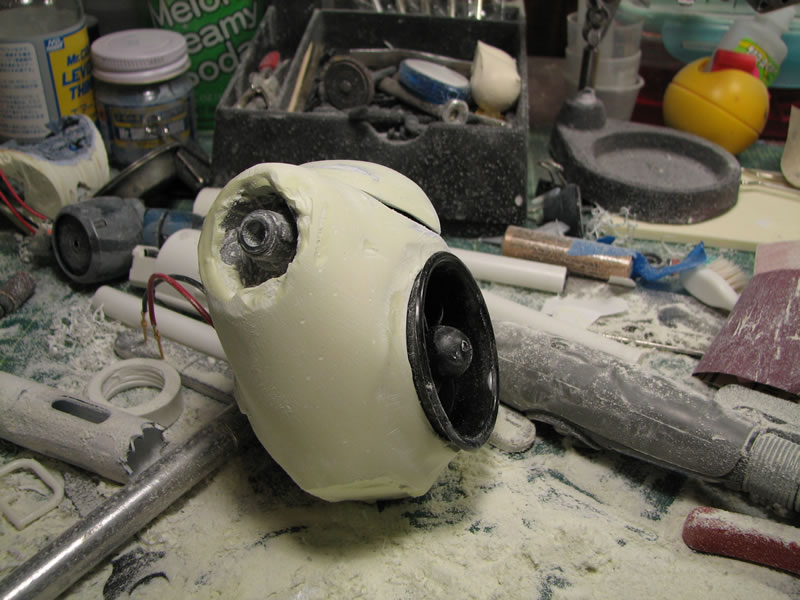
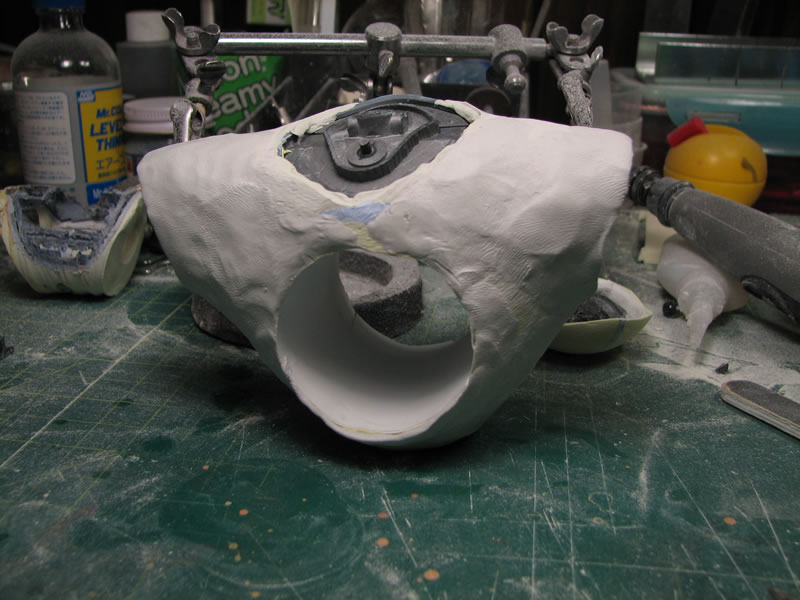
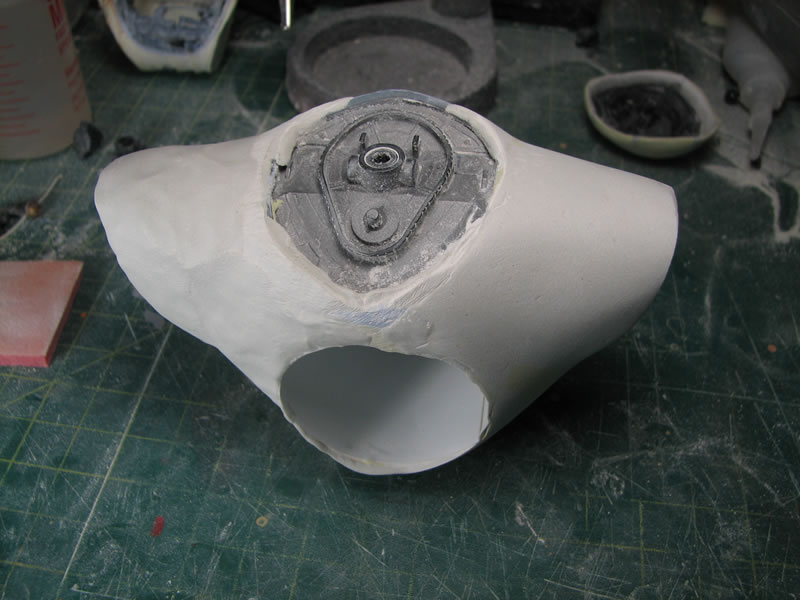
Next up, I drilled out the fan hole using a hole saw that was 44mm in diameter.
Getting ready to cut the hole
Slightly off center, but I'm already working on fixing it
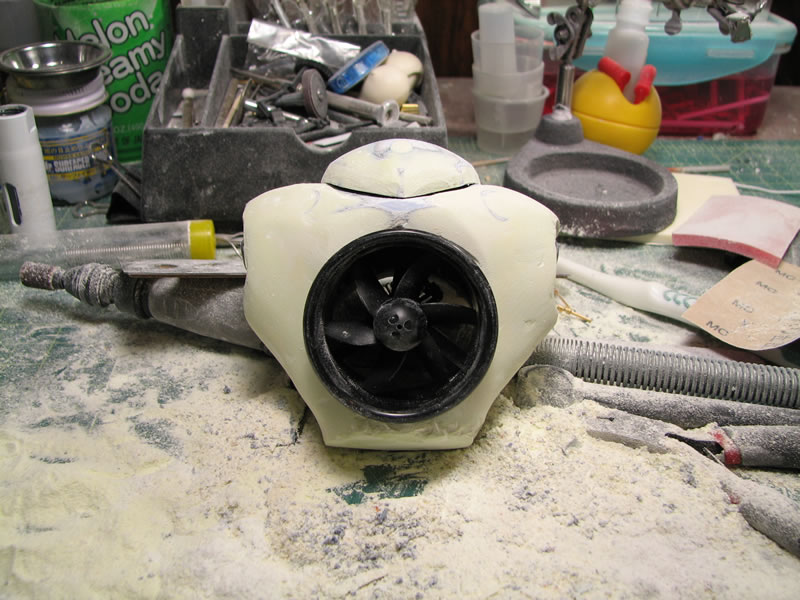
Cut out hole 1
Cut out hole 2
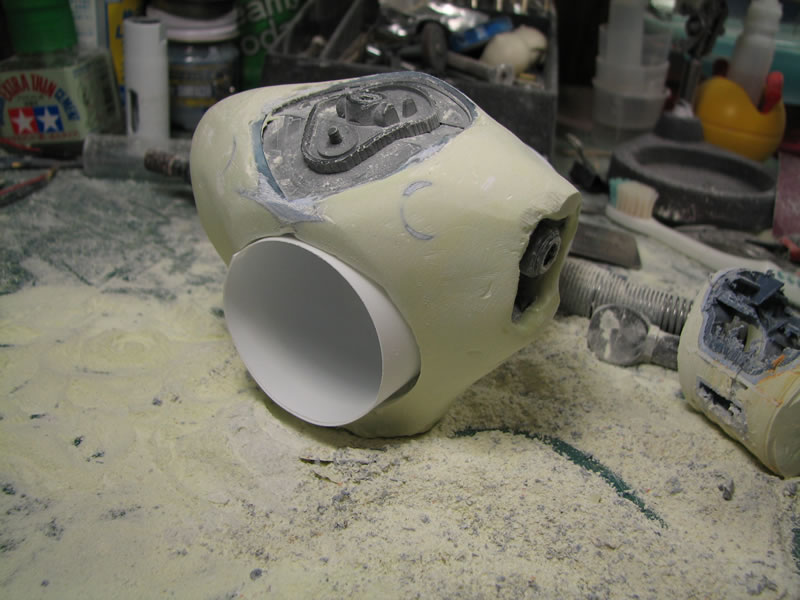
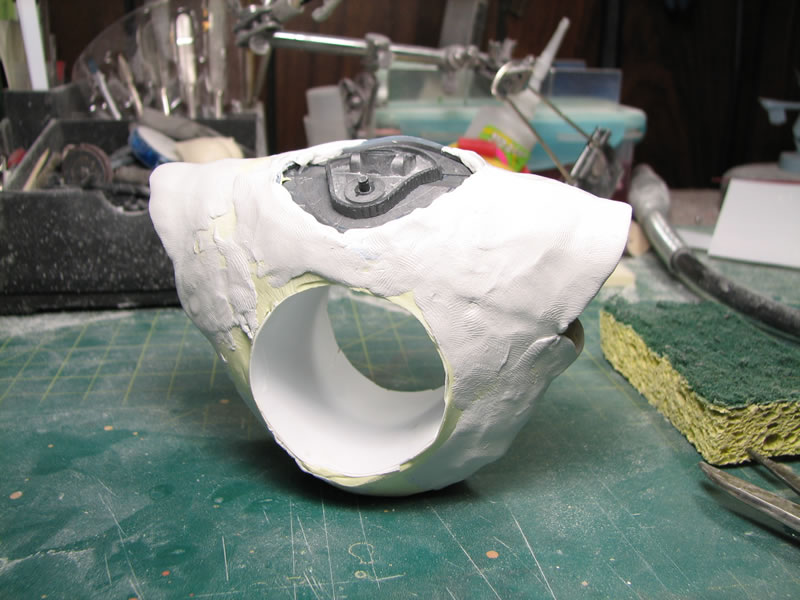
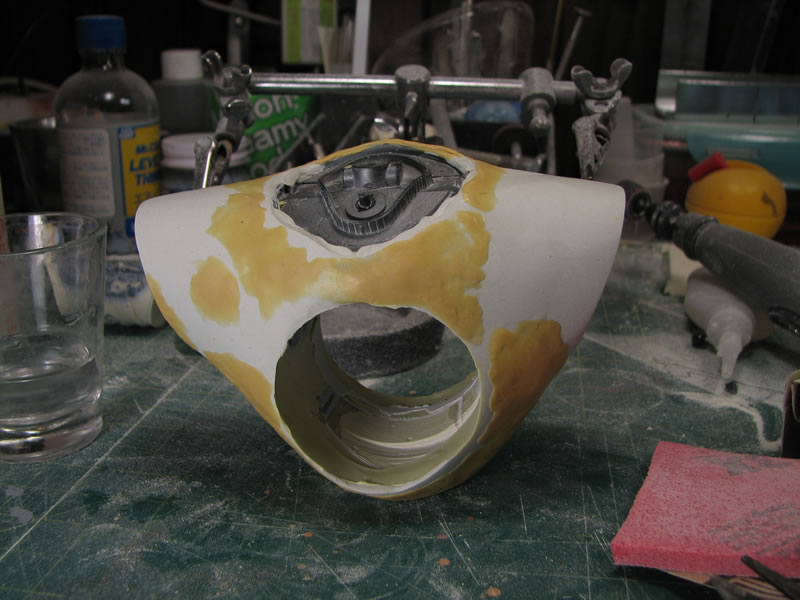
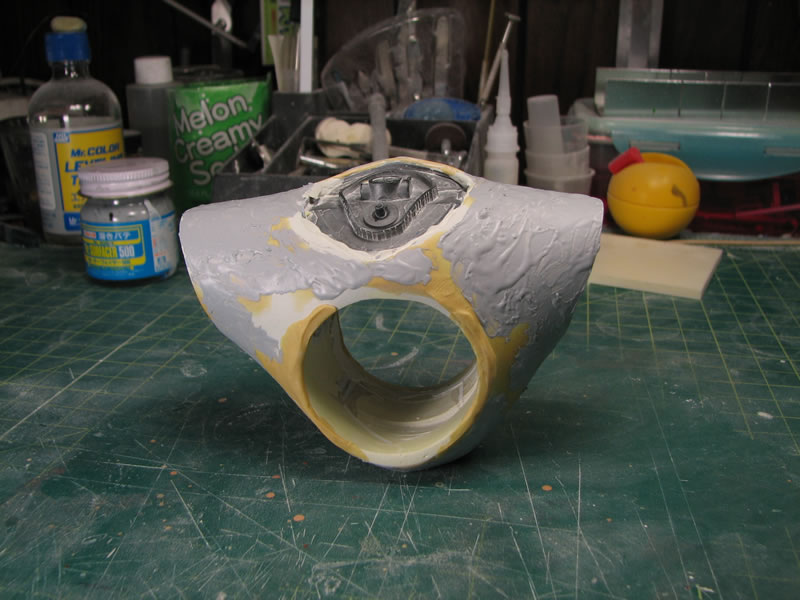
And finally, more putty because after drilling the hole, the size of the waist area and area surrounding the hole was too thin, some thin sheet styrene was rolled up and inserted as a cowl for the fan, and doubles as a support for the additional putty slopped onto the kit. This should be the last putty build up session and next I can work on the final sculpting and surface prep.
More putty work
Electronic Components
Adding little connectors to each component, stringing them together with the DPDT switch, I can run the yellow LEDS (Still not completely decided on the color I want the eyes - red, yellow, or blue) from the lithinum 3 volt battery and the ducted fan can run off the 1.5 volts coming off the AAA battery cell.
Electronics at work
And I even have a little video for it: http://www.gamerabaenre.com/air_man_prog.htm Scroll to the middle of the page.
Next up, I drilled out the fan hole using a hole saw that was 44mm in diameter.
Getting ready to cut the hole
Slightly off center, but I'm already working on fixing it
Cut out hole 1
Cut out hole 2
And finally, more putty because after drilling the hole, the size of the waist area and area surrounding the hole was too thin, some thin sheet styrene was rolled up and inserted as a cowl for the fan, and doubles as a support for the additional putty slopped onto the kit. This should be the last putty build up session and next I can work on the final sculpting and surface prep.
More putty work

Godly. Was that a laser pointer in his arm cannon? Not plamo but I was linked to this other cool airman related cosplay on youtube...
http://youtube.com/watch?v=51yoIN6CwGQ&feature=related
http://youtube.com/watch?v=51yoIN6CwGQ&feature=related
Ikaruga-I'm Not Regret...
弾幕 Baby!
弾幕 Baby!

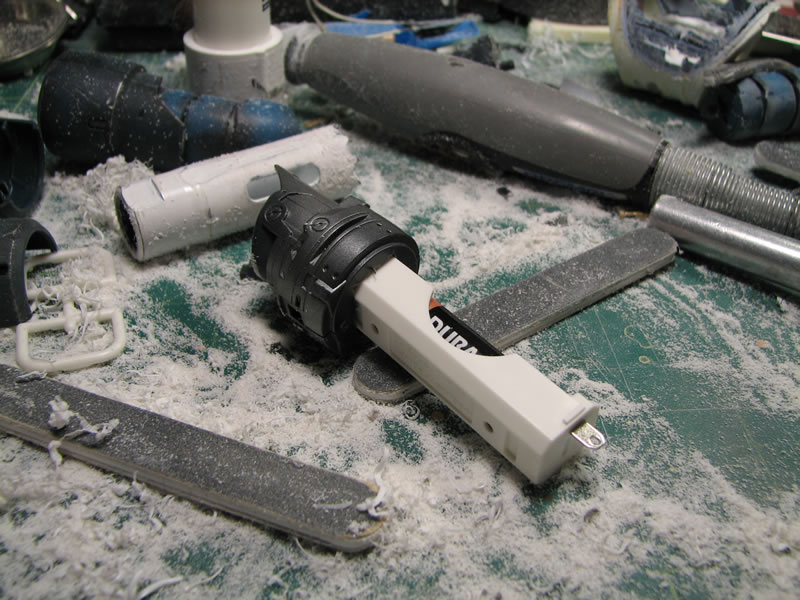
Not a laser pointer but a battery pack for powering the fan. I believe the tube over the battery pod was just that, a tube, possibly made from resin that just caps that part of the arm. I did something similar. Although I was temted to put LEDs at the end of the arm as well, but it may be a bit overkill.
An interesting thing about the fan, I believe that it is a ducted fan for use in RC aircraft. So I'm using something similar, and it is cool that it powers off a single battery putting 1.5 volts of power out. The motors can handle much more as they're supposed to power RC planes... so I hooked it up to a 9.6 volt battery pack and there was definitely some thrust with the ducted fan... cool stuff, but it seems like a bit of a waste to only run the thing off 1/5 volts.
Back onto the project... I have a small update from the past two days of work. I got the arm pod with battery pack built.
Left Arm
More sanding work on the body.
Body Work
Aquament epoxy putty work on the body for finer details and filling.
Aquamend putty work
Another test with the LEDs one with a resistor and one without, I'll be going with a resistor along the parallel setup.
LED Comparison
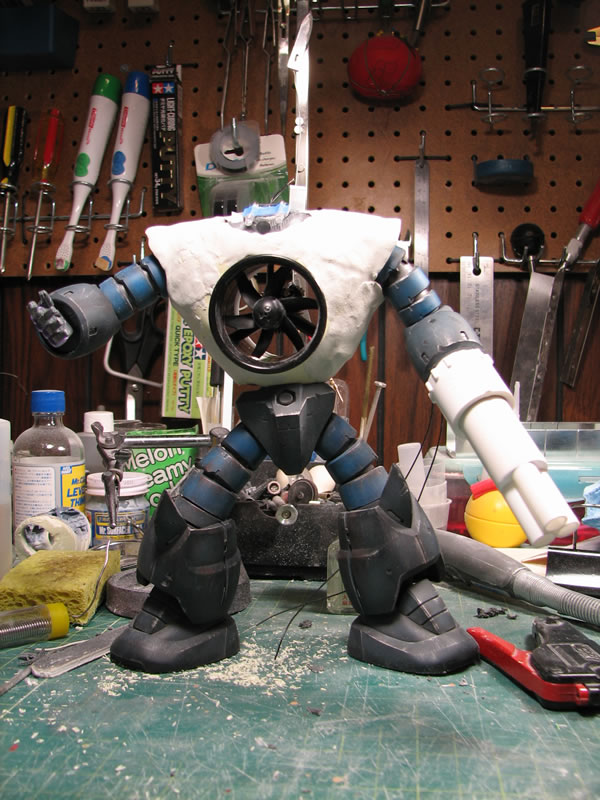
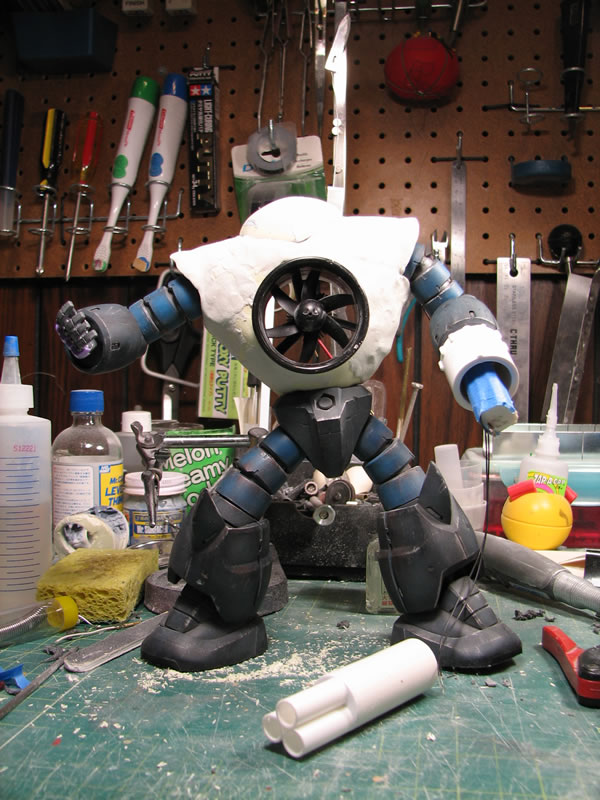
Next up is a little mockup of what I have so far. I used an MG Dom hand in lieu of scratch building my own, saves on time and I think the Dom's fat fingers and hand fit the project decently. For the arm pod/battery pack, I used some hollowed out PVC pipe capped it with some styrene strips, then placed some barrels in a tri-barrel configuration. The more I look at the setup, I think I want to cut the barrels down more just to balance things out a bit. I also need to point the LEDs forward as opposed to pointing down. There are a few other modifications I'll probably make as I look at the mock up more. But for now...
Mock up 1
Mock up 2
An interesting thing about the fan, I believe that it is a ducted fan for use in RC aircraft. So I'm using something similar, and it is cool that it powers off a single battery putting 1.5 volts of power out. The motors can handle much more as they're supposed to power RC planes... so I hooked it up to a 9.6 volt battery pack and there was definitely some thrust with the ducted fan... cool stuff, but it seems like a bit of a waste to only run the thing off 1/5 volts.
Back onto the project... I have a small update from the past two days of work. I got the arm pod with battery pack built.
Left Arm
More sanding work on the body.
Body Work
Aquament epoxy putty work on the body for finer details and filling.
Aquamend putty work
Another test with the LEDs one with a resistor and one without, I'll be going with a resistor along the parallel setup.
LED Comparison
Next up is a little mockup of what I have so far. I used an MG Dom hand in lieu of scratch building my own, saves on time and I think the Dom's fat fingers and hand fit the project decently. For the arm pod/battery pack, I used some hollowed out PVC pipe capped it with some styrene strips, then placed some barrels in a tri-barrel configuration. The more I look at the setup, I think I want to cut the barrels down more just to balance things out a bit. I also need to point the LEDs forward as opposed to pointing down. There are a few other modifications I'll probably make as I look at the mock up more. But for now...
Mock up 1
Mock up 2
Roughly dremeled the aquamend
More aquamend thrown on top to finalize the sculpt
Smooth sanding, half way there...
Sanded half front
Sanded half top
Finished the smooth sanding, and it's time for yet another layer of putty, this time tamiya epoxy quick type
More smooth sanding...
Yet another putty layer using Mr Surfacer 500... once I lightly sand this smooth, this will be ready for primer, and inevitablly more putty work (probably light curing at that stage...)
Mr Surfacer 500 puttied...