The Guide explains the process of creating and/or customizing FrankenGundams with MSpaint
*NOTE* The MSN Links are dead, but I decided to not to delete them
Something that probably should have been here a long time ago? sorry, folks.
Franken-Gundam Artist's Manual for MSPAINT
*The following text assumes that the reader has a good working knowledge of the Microsoft MSPAINT program and program terminology. Using these images requires nothing more than a good idea of how the Microsoft MSPAINT program works. For more information on MSPAINT, please see the program's Help file, accessible from the 'Help' toolbar or by pressing the F1 key while the program is active.
1. The Basics
- Franken-Gundam Artwork is exactly like what it sounds: playing Frankenstein with Mobile Suits. The basic idea is that you take different pre-existing images and piece them together to form entirely new images. Most artists use the hand-drawn images (Pics) by Mark Simmons that used to be displayed at GundamProject.com. The images are still available at the GundamProject archive, http://www.ultimatemark.com/gundam/gpimages/mecha/. Some also use the Lineart stored at Mechadomain, www.mahq.net, although they require a bit more experience to use properly. This Reference covers working with Mark Simmon's images.
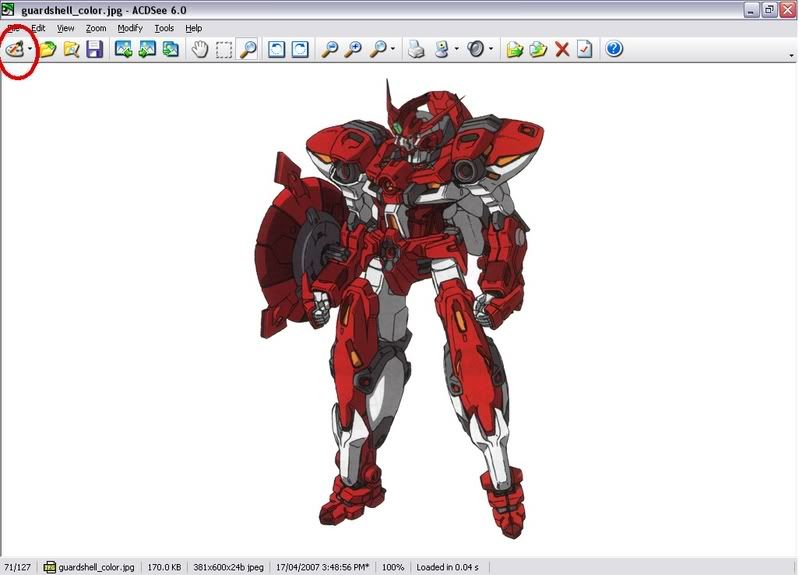
- The first step: Copy down some of Mark's pics to your computer. The usual method is placing your mouse cursor over the image, pressing the 'Right' mouse button (Right-Click), and choosing 'Copy' from the menu that appears. Then, in the MSPAINT program bitmap editor, right-click again, choose 'Paste', and the image will appear, ready for use.
- You'll want to use a good variety of images, so continue acquiring as many pics as you wish in this manner. Commonly-used images include the MS-06F Zaku II, OZ-13MS Gundam Epyon, FA-010S FA-ZZ, YMS-15 Gyan, and RX-78NT-1 Gundam G4 'Alex; although there are hundreds to choose from.
- There are two main methods of construction that Franken-Gundam artists use. (Construction = Creating a Franken-Gundam art image).
The first is referred to as 'Base Drawing'. This method uses an image as a Template; additional parts are added on top of this image, or some parts are erased and replaced. This style is usually the easiest to use, but it does put some limits on the shape of your final design.
EXAMPLE: Zeta Gundam Mark II http://communities.msn.com/krakenhauscu ... otoID=1111
Base Template: RGZ-91 Re-GZ
- The second is creating an entirely new suit by just putting parts together, not adding to an already-existing image. This requires a bit more work, but the results are usually worth it. This is referred to as 'Scratch-Drawing' (drawing from scratch).
EXAMPLE: Gundam Cloudhawk http://communities.msn.com/krakenhauscu ... otoID=1575
- Whether you're Scratch-Drawing or Base-Drawing, you'll need parts to use. (Part = selected portion of a pre-existing image).
You'll want to use MSPAINT's Freehand-Copy tool (top-left corner of the MSPAINT toolbar). You'll note that there are two modes for the MSPAINT select tools: Opaque and Transparent. Set it to Transparent before you continue.
- Using the Freehand-Copy tool, select the specific area of an image you want to use by dragging an outline around it and releasing the mouse key when you've finished. Right-Click to open the menu; and choose 'Copy'. Then open the menu again, and choose 'Paste'. A copy of the selected part of the image will appear. This is what you will use.
- *Hotkeys for Copy and Paste can be easier to use. Copy's Hotkey is Ctrl and C, and Paste is Ctrl and V.
- *DO NOT USE THE ORIGINAL SELECTED IMAGE PART. Always use a copy of it. If you make a mistake and need to start over, you'll want the original image intact so you can get the parts again.
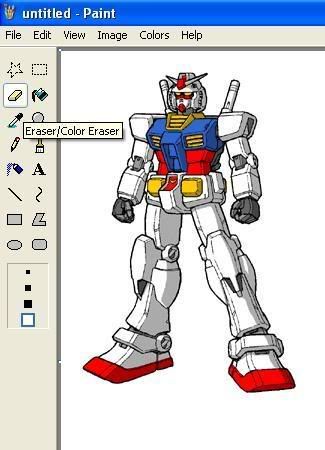
- Once you have the part you want to use, you'll have to alter it so that it fits properly with other image pieces. This is called 'Clean-Up'. Clean-Up usually entails using MSPAINT's Eraser tool to remove stray pixels around your image that you don't want; for example, if when copying an image's head you pick up bits of the upper torso and shoulder, you'd want to remove the pixels making up those bits. (Pixel = one of the tiny squares of color that make up Bitmap images). Also, you may wish to alter the size of the part with MSPAINT's Stretch or Sketch/Skew Tools.
- Use Stretching or Skewing in moderation; these functions will distort the image part you are working with quite a bit if used improperly. A good rule is to never change any attribute more than 10%.
- When working with pixels, the 6x or 8x Zoom functions in the MSPAINT toolbar help a great deal with accuracy. Also note the computer artist's best friend: the 'Undo' command. Hotkey Ctrl and X. Everything else is the artist's own intuition.
- By simply fitting parts together, you can make a complete Franken-Gundam image, ready to be displayed. However, since colors between Mobile Suit pics do not always match, it is a safe bet that your image doesn't look very good at the moment.
EXAMPLE: Reiku BluePrint http://communities.msn.com/krakenhauscu ... otoID=2120
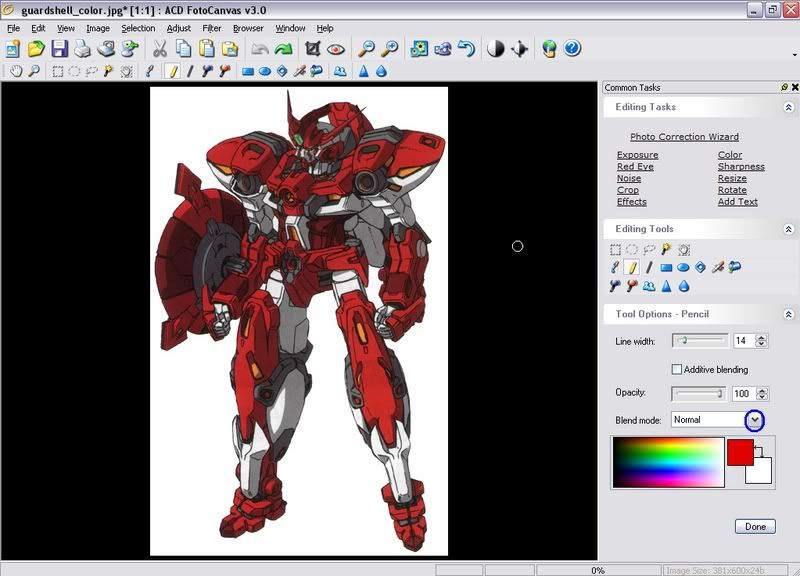
- When you've finished putting together your image, that's when you'll probably want to do a bit of Re-Coloring work. (Re-Coloring = Modifying your image's color scheme). There are a few different ways to recolor: most artists tend to find their own method. I'll cover two here.
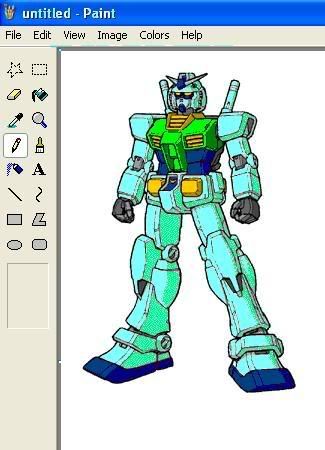
- I've found the best way to re-color with MSPAINT is to go through your entire image and replace every single pixel. This doesn't take as long as you would think.
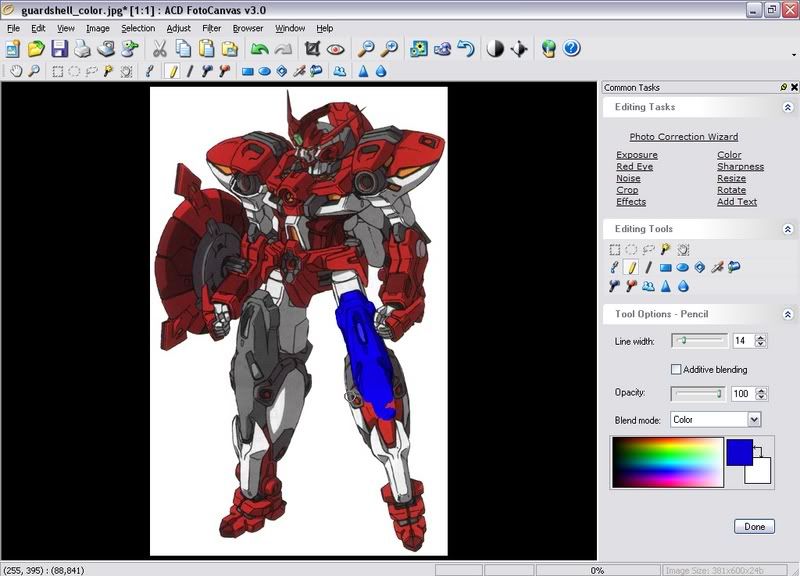
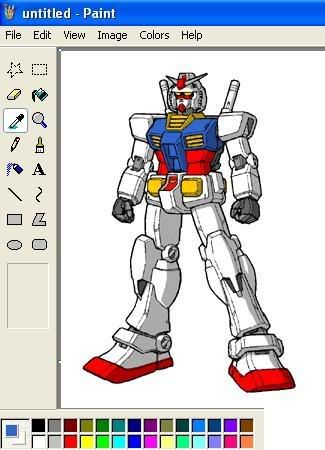
The First thing to do is figure out which colors you want to replace in the image, and then put them into a color scale. Then in a parallel scale, place what colors you want to replace the originals with.
EXAMPLE: Color Scale [Wing Zero Alpha Blue to Yellow] http://communities.msn.com/krakenhauscu ... otoID=2121
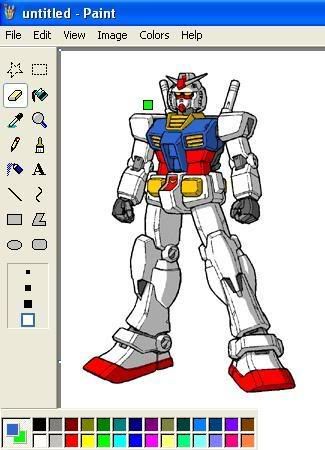
This will make it easier to see what color to replace with what. Also, the 'Fill' tool on the MSPAINT toolbar is useful for handling large areas of the same color.
- Another method of re-coloring, which takes much longer, is using your completed image as a Template; tracing over it and filling in the spaces with color. This method tends to result in a cartoonish appearance for your picture.
EXAMPLE: Reiku Illuminati Colors http://communities.msn.com/krakenhauscu ... hotoID=732
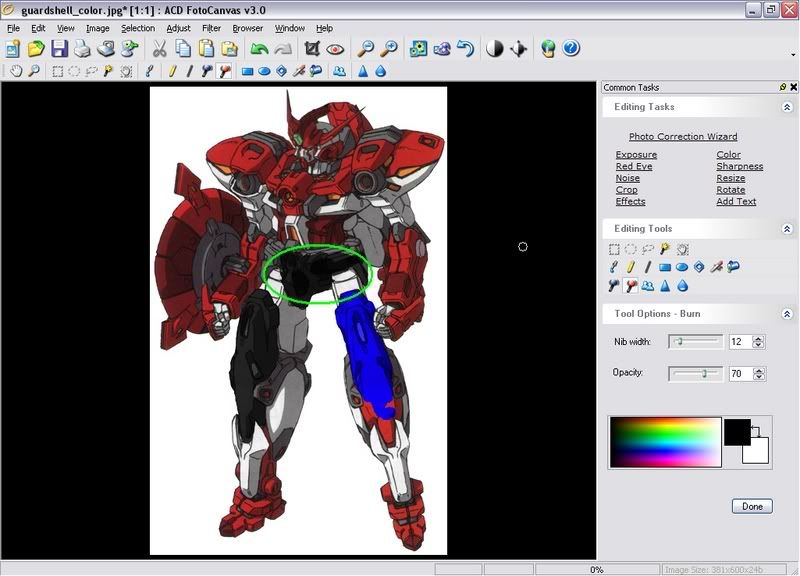
- Using MSPAINT's free drawing tools, like the Circle, Square, line and sketch tools, it is possible to correct stray pixels between parts, add new details such as markings or symbols, and even alter the shape and appearance of parts. For example, stretching the wings of the OZ-012SMS Taurus to create the wings of the Manta, or drawing an Omega symbol for the shoulder of the Botswana's Delta.
EXAMPLE: MRMS-012k Manta http://communities.msn.com/krakenhauscu ... otoID=1865
EXAMPLE: Botswana's Delta http://communities.msn.com/krakenhauscu ... hotoID=718
- Using MSPAINT's tools instead of already-made images is referred to as 'Free-Hand Drawing'. Free-Hand Drawing cannot be taught: much like actually sketching with a Pencil and Paper, the only way to get good at it is practice and effort.
- So, there you go. You've got a piece of art that contains your sweat, blood and tears wrapped up in a nice spread of bright colors and swirly lines. Congratulations.
- It's at this point that you must bow on your knees before your computer, raise your arms to the sky, and chant 'Hail Simmons' seven times fully, in order to praise and acknowledge thy god Mark Simmons and the Divine pictorial blessing Thy God hath lent upon thou.
If thou do not perform the sacred ritual to thy Lord and Master Simmons and all his beautiful ways, then bad luck and misfortune shalt befall thou, and thou shalt experience pestilence and discomfort, from which no amount of intervention from delightfully-flavorful Hostess snacks can spare thee.
- If thou insistith on destroying thine name, then the only way thou shalt save thyself is to donate a Monetary or High-Incendiary gift, amount to be determined sufficient by the High Clergy of Simmons, to Bladed Edge. Payment or purgatory, your choice, folks.


